Your Manufacturing Partner
For Aluminum Fence and Railing
Your Manufacturing Partner
For Aluminum Fence and Railing
Learn how to properly install aluminum fence panels with our detailed step-by-step guide. Get expert tips and advice on preparing the site, measuring, setting posts, and attaching panels. Achieve a professional-looking fence installation.
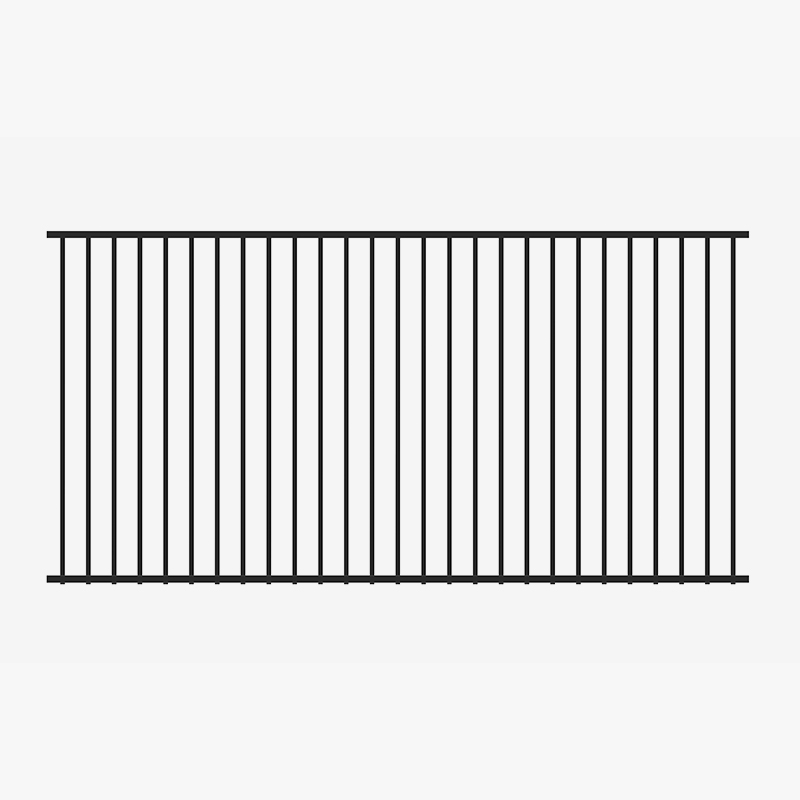
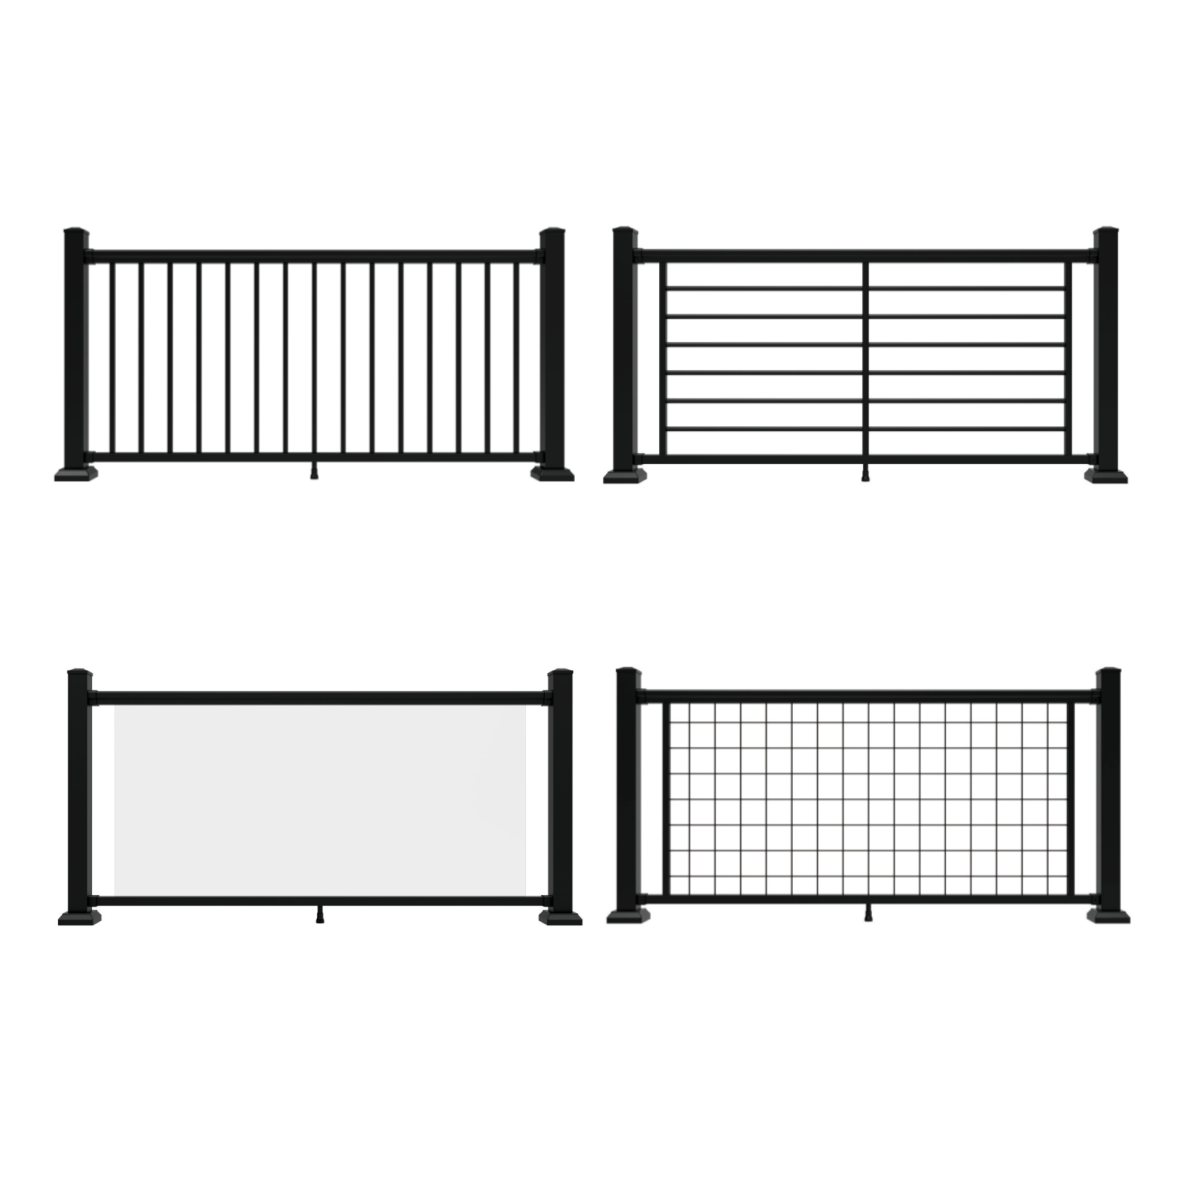
Are you looking to enhance the security and aesthetics of your property? Installing aluminum fence panels is a great solution. With their durability, low maintenance, and stylish designs, aluminum fence panels offer a practical and attractive fencing option. In this step-by-step guide, we will walk you through the process of installing aluminum fence panels, ensuring a professional-looking fence installation.
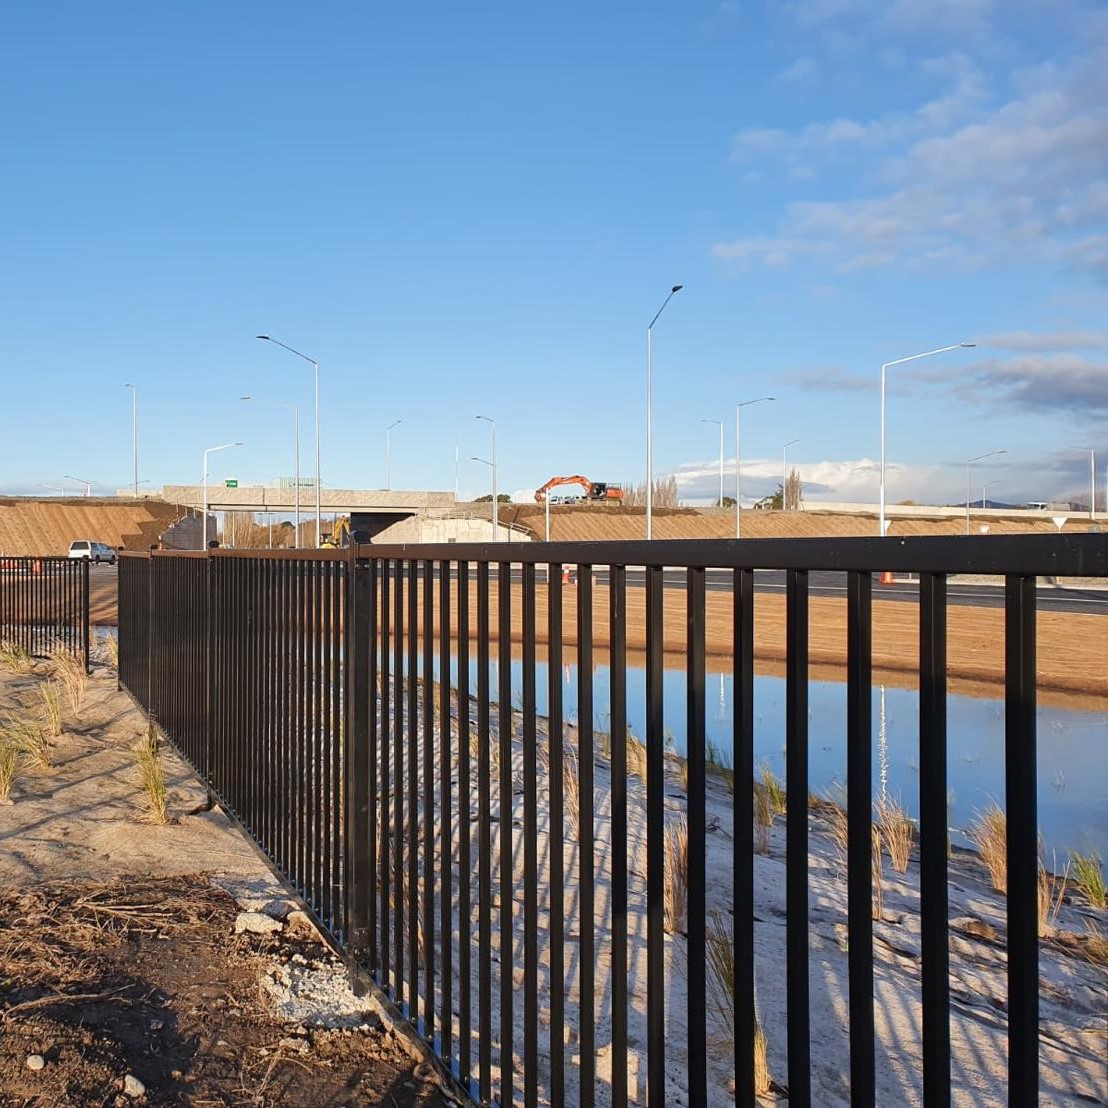
Installing aluminum fence panels not only enhances the security and privacy of your property but also adds an element of style. Whether you're looking to mark your property boundaries or create a safe enclosure for pets and children, aluminum fence panels offer a versatile and long-lasting solution. By following this step-by-step guide, you'll be able to install your aluminum fence panels with ease.
Before you begin the installation process, it's important to plan and prepare accordingly. Here are some key steps to consider:
To ensure a smooth installation process, gather the following tools and materials:
Start by marking the fence line using stakes and string. This will serve as a guide during the installation process. Make sure the line is straight and accurately represents the desired position of the fence.
Dig holes for the fence posts using a post hole digger or auger. The depth and diameter of the holes will depend on the height and spacing of the fence panels. Place the posts in the holes and fill them with a mixture of concrete and gravel. Ensure the posts are level and plumb using a level. Allow the concrete to cure before proceeding.
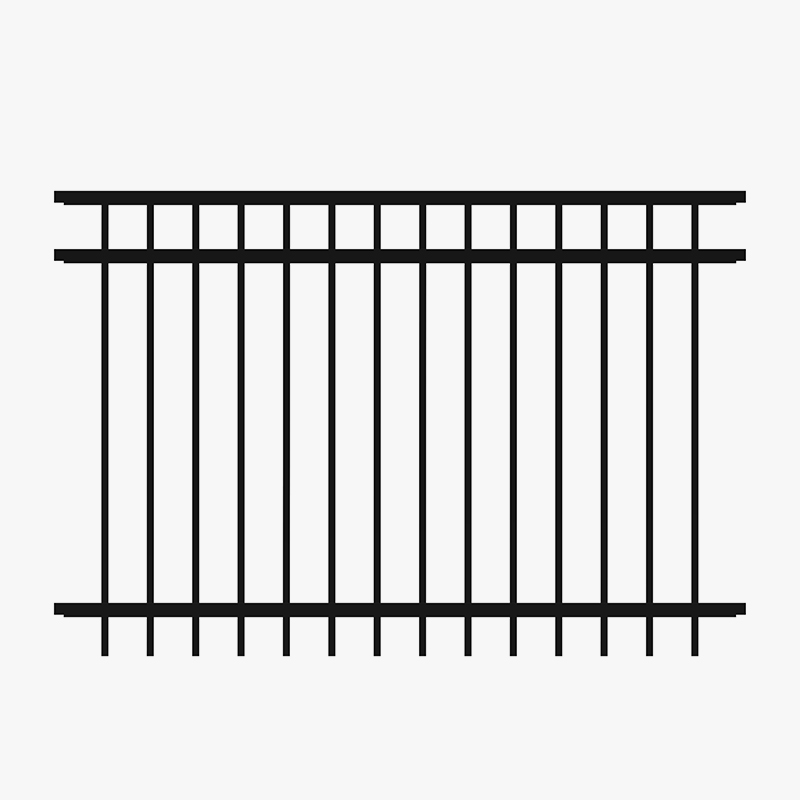
Once the posts are set and the concrete has cured, it's time to attach the rails. The rails will provide support for the fence panels. Secure the rails to the posts using screws or brackets, following the manufacturer's instructions. Use a level to ensure the rails are straight and even.
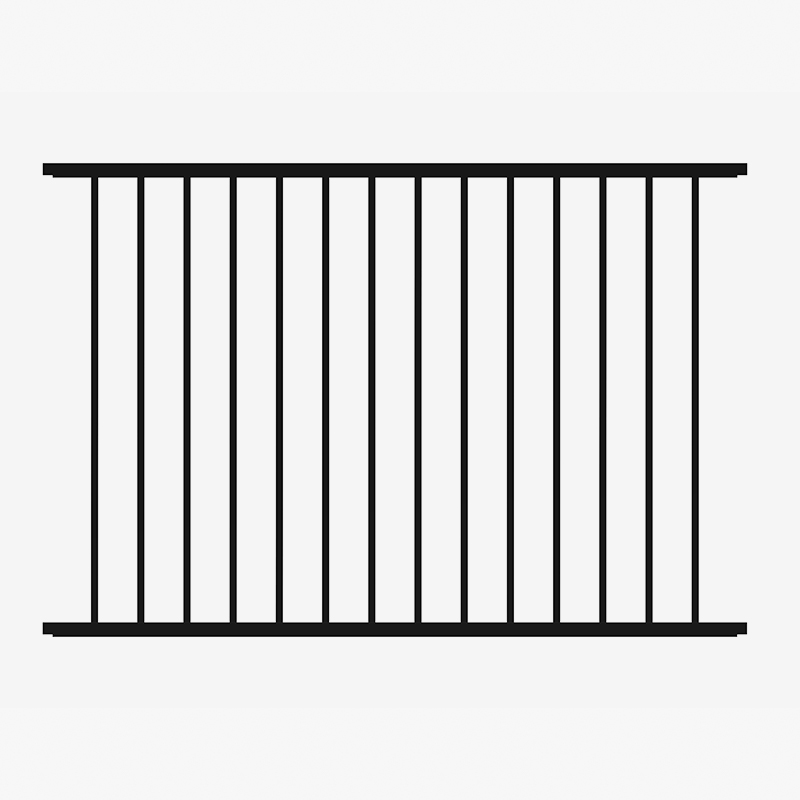
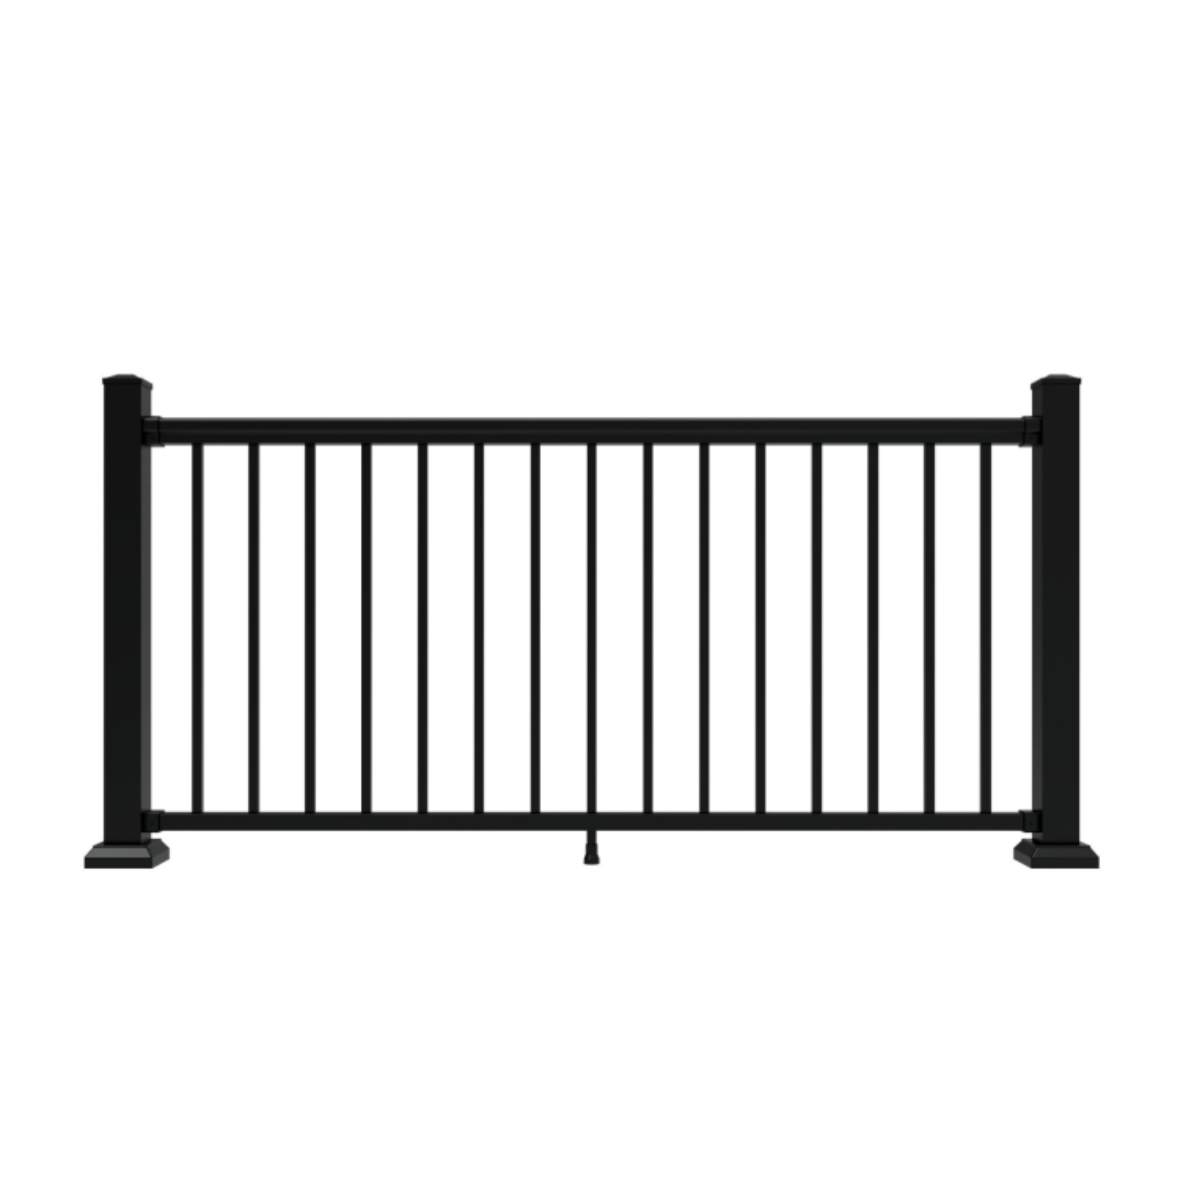
With the rails in place, it's time to install the fence panels. Slide the panels into the brackets or attach them to the rails using screws. Make sure the panels are aligned properly and level. Secure each panel to the adjacent one for added stability.
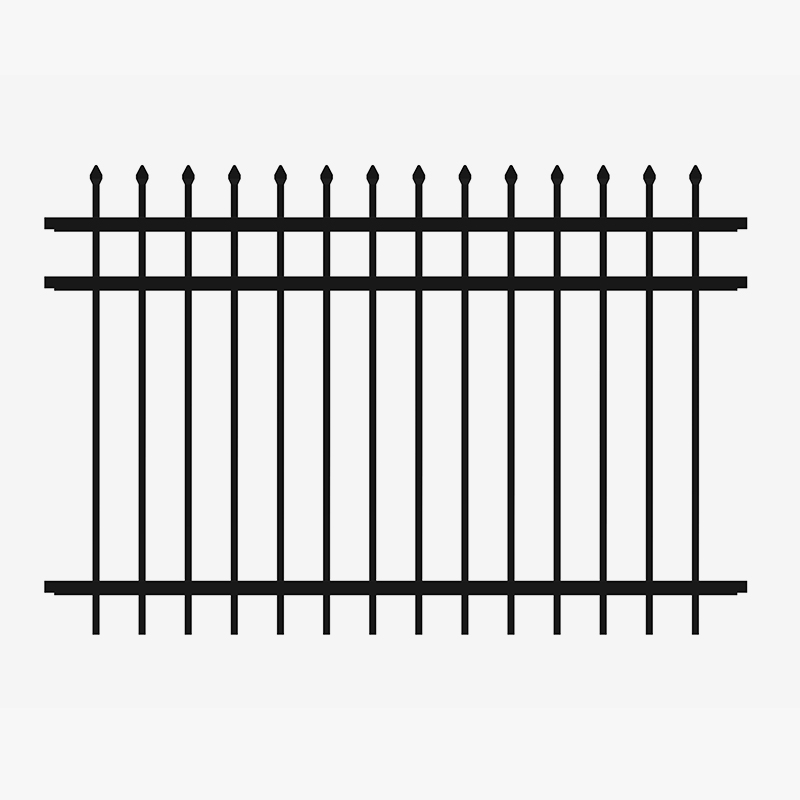
If you're planning to include a gate in your fence, this is the stage to install it. Attach the gate hardware according to the manufacturer's instructions. Make sure the gate swings freely and locks securely. Additionally, you can add accessories such as finials or decorative caps to enhance the appearance of your fence.
Once the fence panels and gates are installed, take a moment to inspect the entire fence. Make any necessary adjustments and ensure everything is secure and aligned. Consider applying a protective coating to the aluminum panels to enhance their longevity and resistance to weather conditions. Regularly inspect and clean the fence to maintain its appearance.
By following this step-by-step guide, you have successfully installed your aluminum fence panels. Not only have you enhanced the security and aesthetics of your property, but you've also created a safe and stylish outdoor space. Enjoy the benefits of your new aluminum fence and take pride in your DIY installation.


 English
 ไทย
ไทย